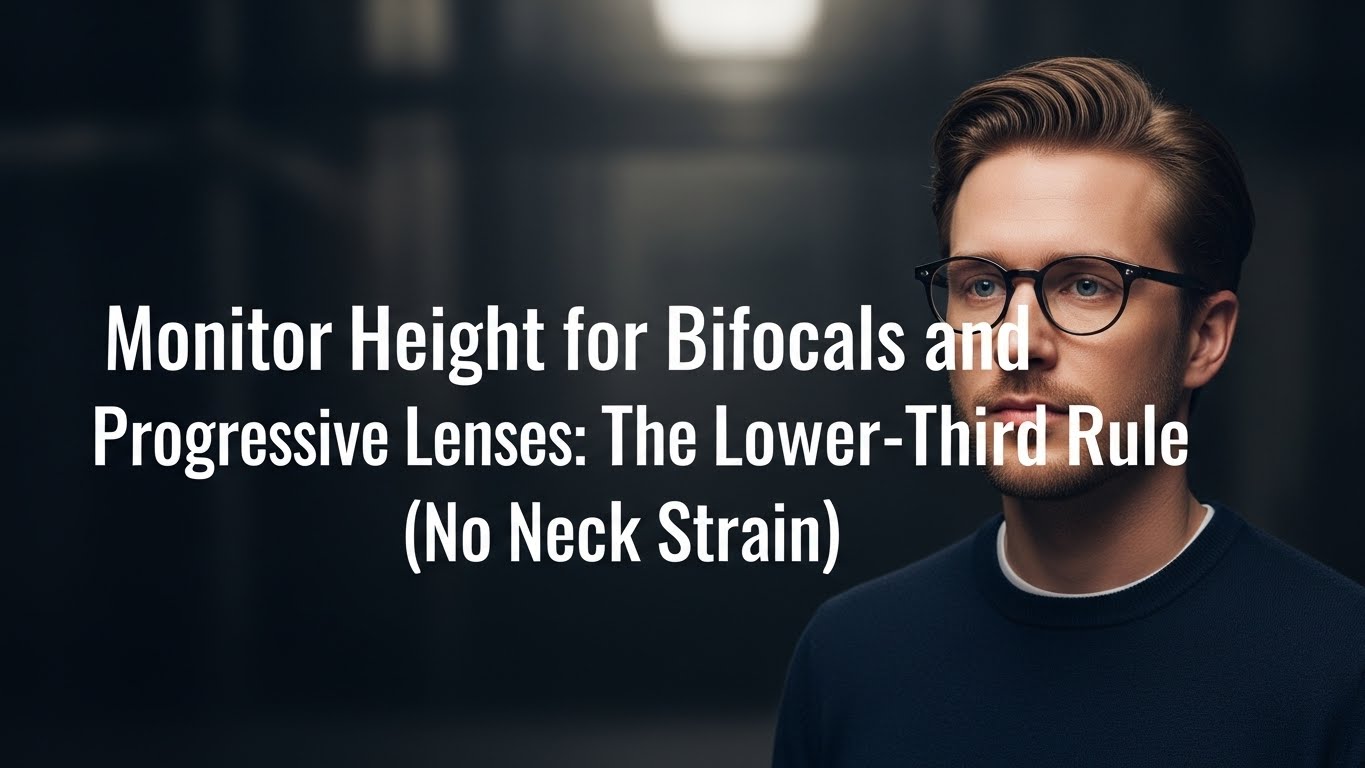
Monitor Height for Bifocals and Progressive Lenses: The Lower-Third Rule (No Neck Strain)
What is the best monitor height for bifocals and progressive lenses?
If you wear bifocals or progressive lenses, the best monitor height is usually lower than standard eye-level advice.
The goal is simple: read the center of your screen through the lower third of your lens corridor without lifting your chin.
When you see clearly but your chin creeps up, your neck is doing your eyes’ job.
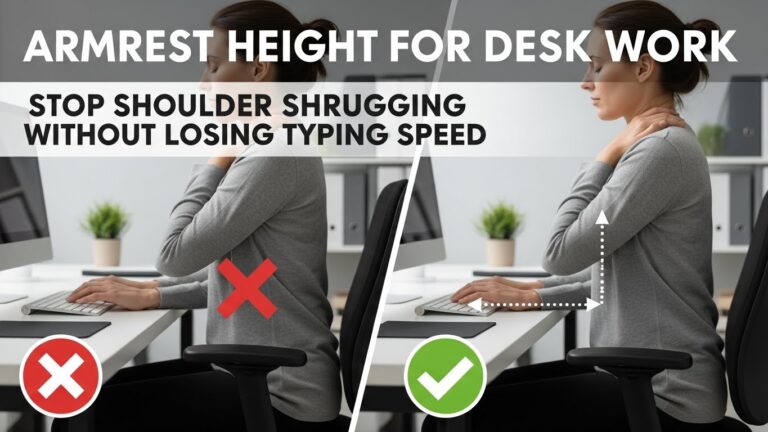
- Primary target: screen center sits about 15–25° below your horizontal eye line
- Pass/fail cue: if you lift your chin to read, the monitor is too high for your lenses
- Fix order: height first → distance second → scaling/zoom third (so you don’t “solve blur” with neck posture)
- Fast stability rule: ears stay stacked over shoulders while reading a full paragraph
The “Chin-Level Stability Test” + corridor calibration steps are below.
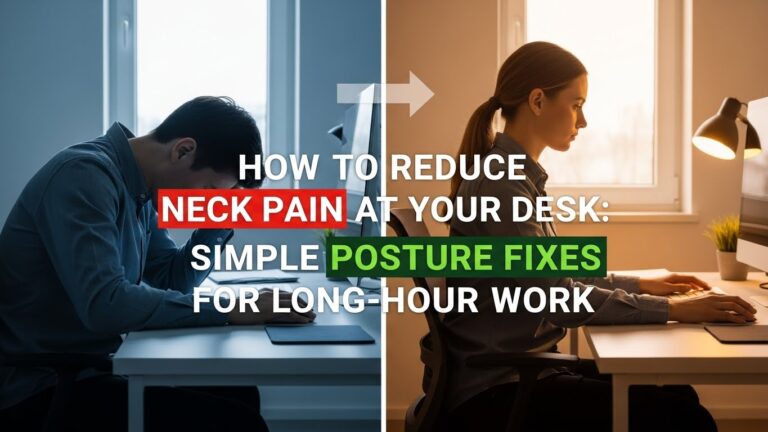
- Chin lifting (even slightly) during email, spreadsheets, or reading-heavy work
- Neck tightness ramping up after 30–60 minutes (suboccipital/upper traps feel “busy”)
- Frequent refocusing or head tilting to “find the clear corridor”
- Blur improves only when you lean closer, lean back, or lift your head
- Dual monitors feel “fine” individually but painful when switching between them
Last Updated: January 7, 2026 |
Technical Review: WorkNest Ergonomic Lab (Evidence-checked) |
Author: WorkNest Team
Professional Disclaimer: This guide explains how multifocal lens “corridors” interact with head/neck posture at a computer workstation.
It is not medical or optometric advice. If you experience persistent headaches, dizziness, or worsening symptoms, consult a qualified eye care professional.
- Sit tall. Keep your chin level (not tucked, not lifted).
- Look at the center of the screen. If your chin lifts to read → lower the monitor.
- If you lean forward to read → move the screen closer before changing font size.
- Then increase OS scaling / browser zoom (often 125–150%) so clarity doesn’t require posture compensation.
- Lock the setup only after 5 minutes of real work (read + type + scroll).
Monitor-height advice is usually written for single-vision lenses. If you wear bifocals or progressives, you already know the “hidden tax”:
the screen gets clear only when your chin creeps up. It feels tiny in the moment… and then your neck pays for it by midday.
The best setup for monitor height for bifocals and progressive lenses is the one where your head stays calm and your eyes do the work.
If your workstation forces you to hunt for a clear corridor, you’ll end up lifting, tilting, and tightening without noticing.
Table of Contents
- 1) Why progressives change monitor height rules (the corridor problem)
- 2) The proprioception-style trap for your neck: “chin-up compensation”
- 3) Step-by-step calibration: height → tilt → distance (optical corridor method)
- 4) Distance + text size: the combo that prevents neck compensation
- 5) Dual monitors: the fastest way to accidentally trigger strain
- 6) Glare and lighting: when “height” isn’t the real culprit
- 7) Good vs bad signals table (multifocal-ready checklist)
- FAQ
- Internal Links
- Sources & References
- Professional Disclaimer
1) Why progressives change monitor height rules (the corridor problem)
Progressive lenses have multiple zones (distance / intermediate / near) connected by a narrower optical corridor.
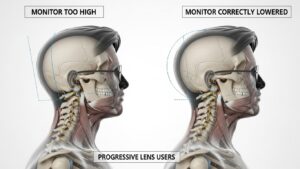
Standard “top of screen at eye level” advice often pushes progressive users into a bad pattern:
you can see the screen clearly… but only by lifting your chin to look through the lower part of the lens.
The practical takeaway is the Lower-Third Rule:
your gaze should land through the lower third of the lens corridor for computer work,
while your chin stays level and your ears stay stacked over your shoulders.
2) The proprioception-style trap for your neck: “chin-up compensation”
Here’s the weird part: you might not feel “wrong” while you’re doing it.
The compensation can be just a few millimeters—barely noticeable—yet it keeps the upper neck in gentle extension for hours.
Over time, that’s when people report the classic mix: neck tightness, upper trap fatigue, and “why does my head feel heavy?”
Read a full paragraph in the center of your screen while keeping your chin level.
If your chin lifts at any point (even a tiny “helping” motion), your monitor is effectively too high for your multifocal corridor.
Lower it one small step and re-test before changing anything else.
3) Step-by-step calibration: height → tilt → distance (optical corridor method)
Calibration for multifocals works best when you change one variable at a time.
The sequence matters because you can “solve blur” by leaning or lifting your head—and that’s exactly what we’re trying to avoid.
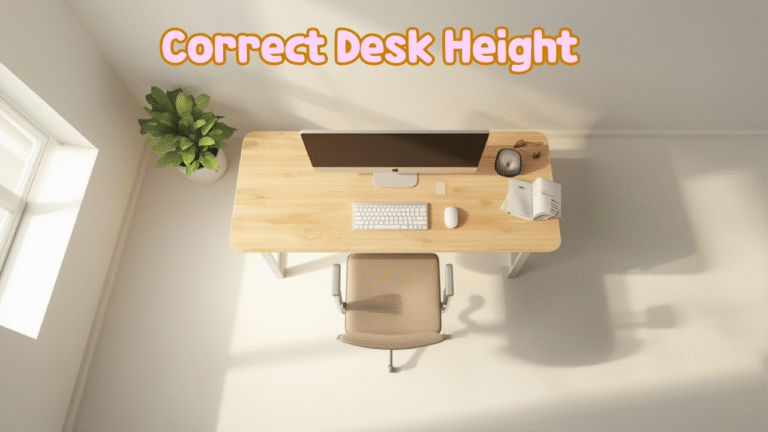
| Adjustment | Practical Standard | Biomechanical Goal |
|---|---|---|
| Monitor height | Aim for the screen center 15–25° below eye line; lower until chin stays level | Prevents cervical extension (chin lifting) while aligning with the intermediate/near corridor |
| Screen tilt | Often 10–20° tilt upward (small, not extreme) | Keeps the viewing angle comfortable through the lower corridor zones |
| Viewing distance | Comfortable “computer distance” (commonly 20–30 in, adjust to your clarity) | Reduces accommodative stress and prevents forward head drift |
- Center the monitor: directly in front of you (not off to one side).
- Lower in small steps: run the chin-level test after each step.
- Adjust distance: if you lean in, bring the screen closer before changing font size.
- Lock it with real work: do 5 minutes of email + scrolling + typing. If your chin creeps up, lower again.
4) Distance + text size: the combo that prevents neck compensation
Height fixes chin-lift. Distance + text size fix forward lean.
If you lower the monitor but keep tiny text far away, you can accidentally trade neck extension for forward head posture.
- Distance first: move the monitor closer until you can read without your head drifting forward.
- Then scaling/zoom: OS scaling (often 125–150%) or browser zoom makes clarity easier without “helping” with posture.
- Don’t negotiate with your neck: clarity should come from setup, not compensation.
If your head position changes during the loop, your setup is still asking your neck to do eye work.
Re-check height first, then distance, then scaling.
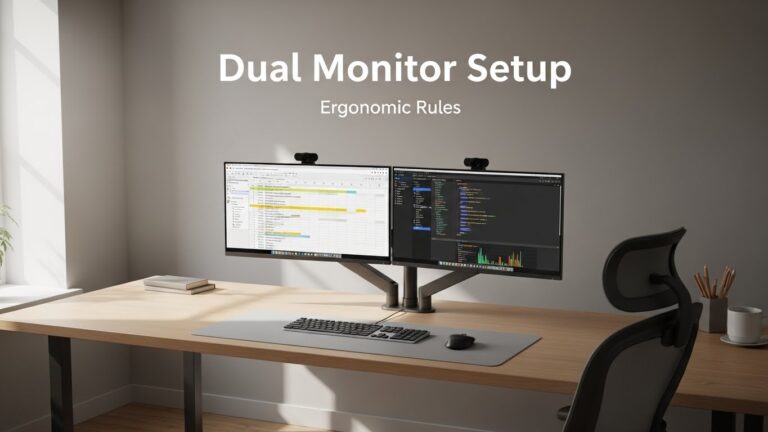
5) Dual monitors: the fastest way to accidentally trigger strain
Multi-monitor setups can be great—until progressive corridors turn them into a “tiny head movement” factory.
If one screen is higher or angled differently, your neck will quietly follow it.
- Match heights: keep the top edges consistent so your head doesn’t bounce between screens.
- Main screen straight ahead: the most reading-heavy screen should be centered and easiest to see.
- Side screens are “support”: put passive content (chat/calendar) on the side, not your primary reading surface.
6) Glare and lighting: when “height” isn’t the real culprit
Sometimes headaches persist even after lowering the monitor because glare forces you to squint or tilt to “escape” reflections.
In those cases, the corridor problem gets worse because you’re fighting both optics and lighting.
- Fix glare first: adjust monitor angle, blinds, and room lighting (especially windows behind you).
- Then re-check height: glare changes where you naturally aim your gaze.
- Watch the behavior cue: if you keep tilting your head to find a clear, non-glare zone, lighting is part of the problem.

7) Good vs bad signals table (multifocal-ready checklist)
| Signal | Strain setup | Multifocal-ready setup |
|---|---|---|
| Head position | chin up / neck extended | chin level, neck quiet |
| Reading feel | hunting for a clear corridor | stable clarity in normal posture |
| Behavior cue | leaning, tilting, lifting head | still posture, small eye movements |
| End-of-day | neck tightness / traps sore | minimal neck fatigue |
FAQ: Troubleshooting multifocal strain
Q1) Should I lower my monitor if I wear progressive lenses?
A) Often yes. If you lift your chin to read the center of your screen, lowering the monitor slightly is usually the fastest posture fix for multifocals.
Q2) Why do I still get headaches even with the monitor lowered?
A) Common causes include glare/reflections, excessive contrast, or tiny text that forces effort. Fix glare, then refine distance and scaling so you’re not compensating with posture.
Q3) Is tilting the monitor back enough instead of lowering it?
A) Tilt can help, especially for reflections, but it rarely solves chin-up posture by itself. Height usually matters more for progressive corridors.
Q4) Should I increase font size or move the monitor closer?
A) Do distance first (to stop leaning), then increase OS scaling or browser zoom. That sequence prevents “clarity” that costs you posture.
Q5) Do I need a monitor arm?
A) It helps a lot because multifocal users often need small, precise adjustments. A monitor arm makes the “millimeter sweet spot” easier to find and keep.
Q6) Do both monitors need to be the same height?
A) As close as possible. Even small height differences can trigger repetitive head movement with progressive corridors during screen switching.
Internal Ergonomic Protocols
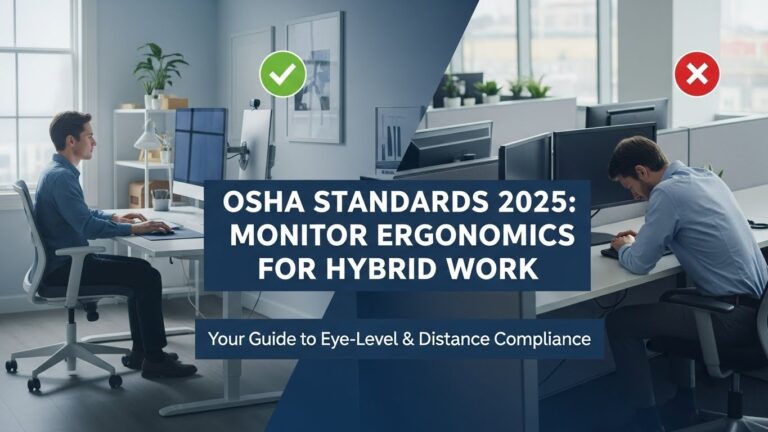
Monitor Distance and Eye-Level Setup: Complete OSHA-Informed Guide
How to Reduce Neck Pain: Advanced Posture Fixes for Remote Workers
Screen Glare in Small Rooms: Preventing Eye Fatigue and Posture Drift
Sources & References
- OSHA: Computer Workstations — Neutral Body Positioning
- NIOSH: Computer Workstation Evaluation Checklist (PDF)
- NIH (PMC): Digital eye strain and posture factors (multifocal context)
Professional Disclaimer
This content is informational and does not replace professional ergonomic, medical, or optometric guidance.
If you have persistent headaches, worsening vision symptoms, dizziness, numbness/tingling, or significant neck pain, seek qualified evaluation.
Update Log:
– 2026-01-03: Published chin-level test, dual-monitor guidance, and multifocal-friendly setup flow.
– 2026-01-05: Integrated the Lower-Third Rule, refined angle targets, added calibration table + glare troubleshooting emphasis.
I’m not a medical professional, ergonomist, or workplace specialist.WorkNest exists to help everyday people build more comfortable, practical home office environments through clear explanations, visual guides, and common-sense adjustments.
Articles on this site are written from a non-expert perspective, focusing on real-world use, everyday discomforts, and widely accepted setup principles rather than clinical or professional advice.