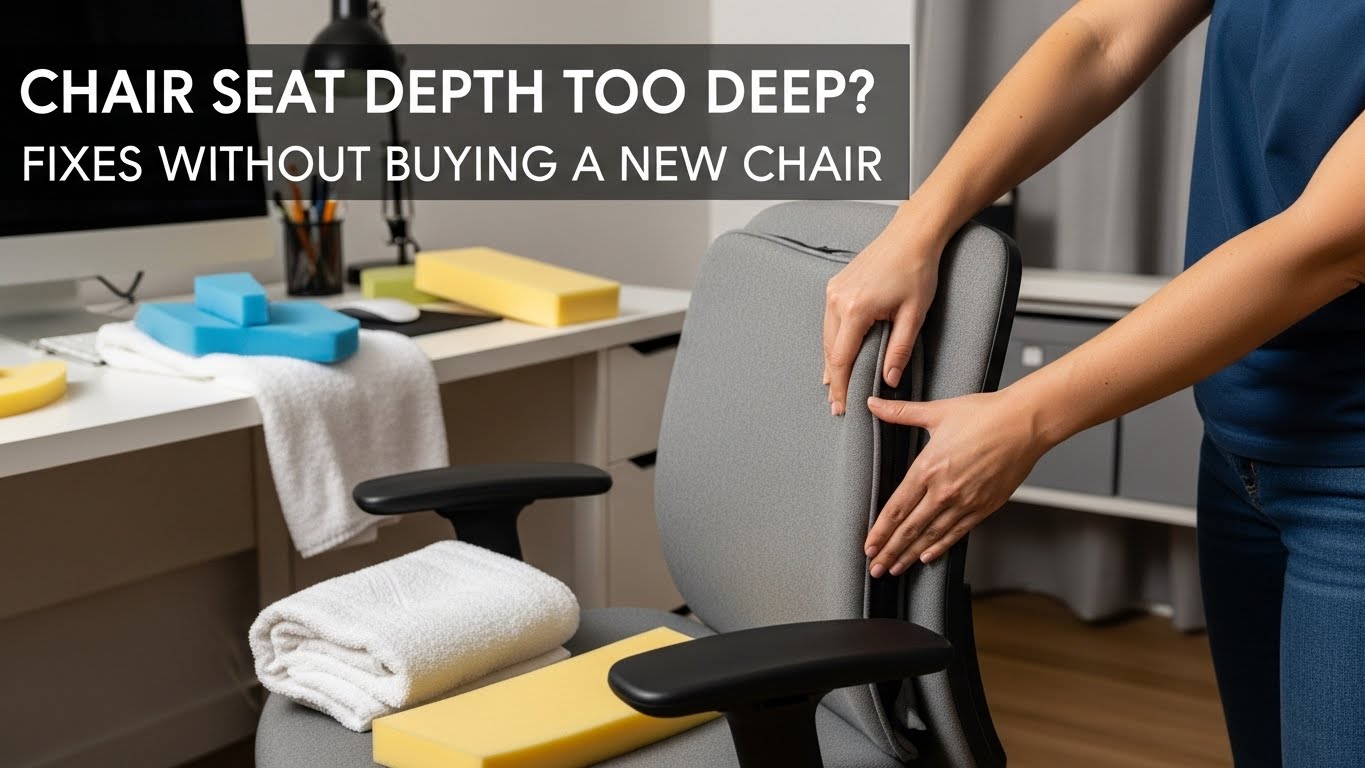
Chair Seat Depth Too Deep? Fixes Without Buying a New Chair(Knee Gap + Lumbar Lock Protocol)
The goal: keep lumbar contact AND restore a 2–4 cm knee gap (about 2–3 fingers)
If your seat is too deep, your body will pick one bad option: slide forward (lose back support) or press the seat edge behind the knee (pressure + irritation).
The clean fix is to restore a small gap behind the knees while keeping your low back supported — using a lumbar roll first, then a thin seat wedge only if needed, and a footrest if your feet lose stability.
- Primary metric: 2–4 cm gap behind the knees (2–3 fingers) with back support intact
- Priority rule: stop sliding first (lumbar roll) before adding more seat padding
- Foot stability trigger: if feet feel “dangly” after any change, add a footrest before touching desk height
- 60-second validation: type + mouse for 60s → no slide, no knee-edge pressure = success
- Numbness/tingling behind the knee or down the calf
- Feet feel cold/asleep after sitting
- You keep sliding forward, then your low back tightens
- Hip pinching or tailbone soreness that builds daily
If symptoms are persistent, worsening, or include significant numbness/weakness, consider professional evaluation. This guide is informational, not medical advice.
Last Updated: 2026-01-010 |
Expert Review: WorkNest Ergonomic Lab |
Author: WorkNest Team
- Sit back until your pelvis is supported (don’t perch).
- Check behind the knees: aim for 2–3 fingers of space (no seat-edge pressure).
- Add lumbar roll first (rolled towel works): it stops the slide-forward pattern.
- Re-check the gap: if still tight, add a thin wedge (not a thick cushion).
- Lock foot stability: if feet feel unstable, add a footrest before changing desk height.
A deep seat pan is one of those “invisible” setup problems.
The chair looks fine, but your body keeps doing micro-compromises: sliding forward, tucking feet back, bracing with legs.
By evening it feels like your back is the issue — when the real trigger is seat depth.
Table of Contents
- 1) How to confirm your seat is too deep (the knee-gap test)
- 2) The failure cascade: why your body slides and your back “loses the fight”
- 3) Fix protocol (in order): lumbar roll → wedge → foot stability
- 4) Desk-height chain effects (keyboard + elbows + shoulders)
- 5) Setup matrix: drifting vs stable signals
- FAQ
- Internal Links
- Sources & References
- Professional Disclaimer
1) How to confirm your seat is too deep (the knee-gap test)
Seat depth is “too deep” when you can’t keep back support and a small gap behind the knees at the same time.
If the seat edge presses behind the knee, your body will automatically shift — usually forward.
Sit back so your pelvis and lumbar area are supported. Now check behind your knees.
If you can’t fit 2–3 fingers between the seat edge and the knee crease, your seat depth is effectively too deep for your body.

2) The failure cascade: why your body slides and your back “loses the fight”
Deep seats often trigger a predictable chain:
knee-edge pressure → you slide forward to escape it → lumbar contact disappears → pelvis drifts → upper body starts compensating.
That’s why a “leg” issue can show up as low-back tightness or even neck fatigue.
- Slide-forward pattern: knee pressure decreases, but lumbar support disappears.
- Feet-back pattern: you tuck your feet to avoid pressure, which can increase hip/low-back strain.
- Bracing pattern: you push into the floor to hold position, wasting energy all day.
Lose one, and your setup drifts — and the discomfort tends to “move” to another body area.
3) Fix protocol (in order): lumbar roll → wedge → foot stability
Most people try to “shorten” the seat by adding a thick cushion — and accidentally create a new problem (desk feels too low, shoulders lift, wrists extend).
The smarter approach is stop the slide first, then reduce effective depth with a thin, controlled adjustment.
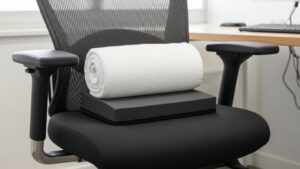
- Step 1 — Lumbar roll (first): a rolled towel at the small of your back. The job is to stop drift and restore back contact.
- Step 2 — Re-check the knee gap: aim for 2–3 fingers behind the knees while keeping lumbar contact.
- Step 3 — Thin seat wedge (only if needed): a slim wedge or folded towel can shift you slightly forward without losing back contact.
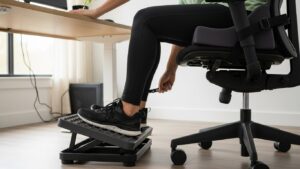
- Step 4 — Lock foot stability: if feet feel unstable after changes, add a footrest before you touch desk height.
- Step 5 — Run the 60-second validation: type + mouse for 60 seconds. If you slide forward, increase lumbar support before adding more seat padding.
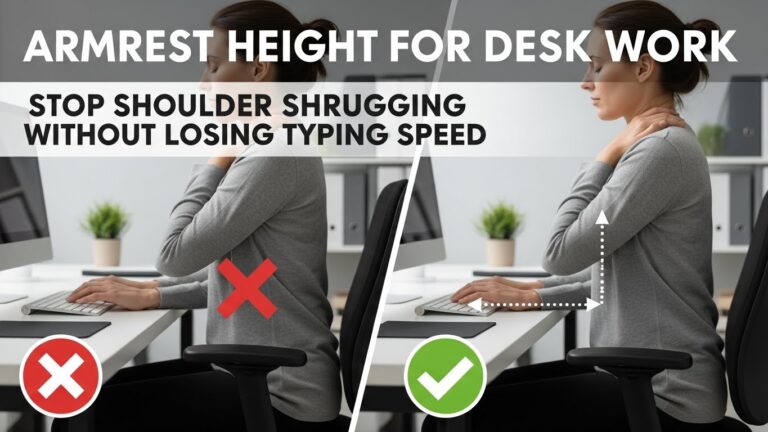
4) Desk-height chain effects (keyboard + elbows + shoulders)
Seat-depth fixes can change your sitting height slightly. That can affect the “elbow chain”:
elbow position → wrist angle → shoulder tension. This is why seat issues can feel like wrist/neck issues later.
- If you sit far from the desk: you reach, shoulders lift, wrists extend, and you press into the desk edge.
- If you sit too close: elbows flare outward, wrists bend sideways, and typing feels cramped.
- Simple alignment: keep elbows close to your sides, keyboard close enough that you don’t reach, and shoulders heavy/relaxed.
If that happens, fix foot stability first and switch to a thinner wedge.
5) Setup matrix: drifting vs stable signals
| Signal | Setup is drifting | Setup is stable |
|---|---|---|
| Behind-knee feel | seat edge pressure / tingling | clear gap, no pressure point |
| Back support | you keep sliding forward | steady lumbar contact |
| Feet | dangling or tucked far back | stable, planted support |
| Shoulders | reaching / shrugging builds | heavy, relaxed shoulders |
| End-of-day | low back tight + legs restless | you forget the chair exists |
FAQ
Q1) Should I aim for a specific knee gap number?
A) A practical target is 2–3 fingers (roughly 2–4 cm) behind the knees while your back stays supported. If you feel a pressure point, reduce effective depth.
Q2) Is it okay to sit forward and not use the backrest?
A) Short bursts can be fine, but for long workdays most people drift into fatigue. If you’re sitting forward because the seat is too deep, it’s usually better to restore back contact first.
Q3) Will a thick cushion fix seat depth?
A) Sometimes, but thick cushions often raise you and create desk-height problems. Start with a lumbar roll, then use a thin wedge only if needed.
Q4) My feet don’t touch the floor after adjustments—what should I do?
A) Use a footrest to restore stability. Dangling legs can create hamstring and low-back tension over time.
Q5) When should I consider replacing the chair?
A) If you can’t maintain back contact + knee gap even with reasonable workarounds (roll/wedge/footrest),
or you have persistent numbness/tingling that won’t resolve, a chair with adjustable seat depth may be worth considering.
Internal Links
Office Chair Guide: How to Choose the Right Chair for 8-Hour Workdays
Ergonomic Footrest Guide: Solve Back Pain and Improve Circulation
Desk Height by Body Height: Complete Guide to Correct Ergonomic Setup
Sources & References
- OSHA — Computer Workstations eTool: Chairs (seat and fit guidance)
- NIOSH (CDC) — Computer Workstation Checklist (PDF)
- HSE — Display Screen Equipment (DSE): workstation basics
Professional Disclaimer
If you have persistent or worsening numbness, tingling, weakness, or significant pain, consult a qualified clinician or ergonomics professional.
Update Log:
– 2026-01-07: Combined the knee-gap + back-contact framework with a strict step order (lumbar roll → thin wedge → foot stability) and added desk-height chain checks + validation tests.

I’m not a medical professional, ergonomist, or workplace specialist.WorkNest exists to help everyday people build more comfortable, practical home office environments through clear explanations, visual guides, and common-sense adjustments.
Articles on this site are written from a non-expert perspective, focusing on real-world use, everyday discomforts, and widely accepted setup principles rather than clinical or professional advice.