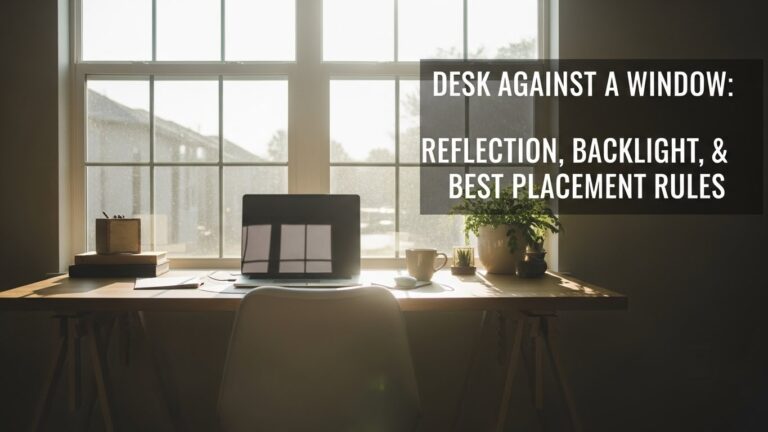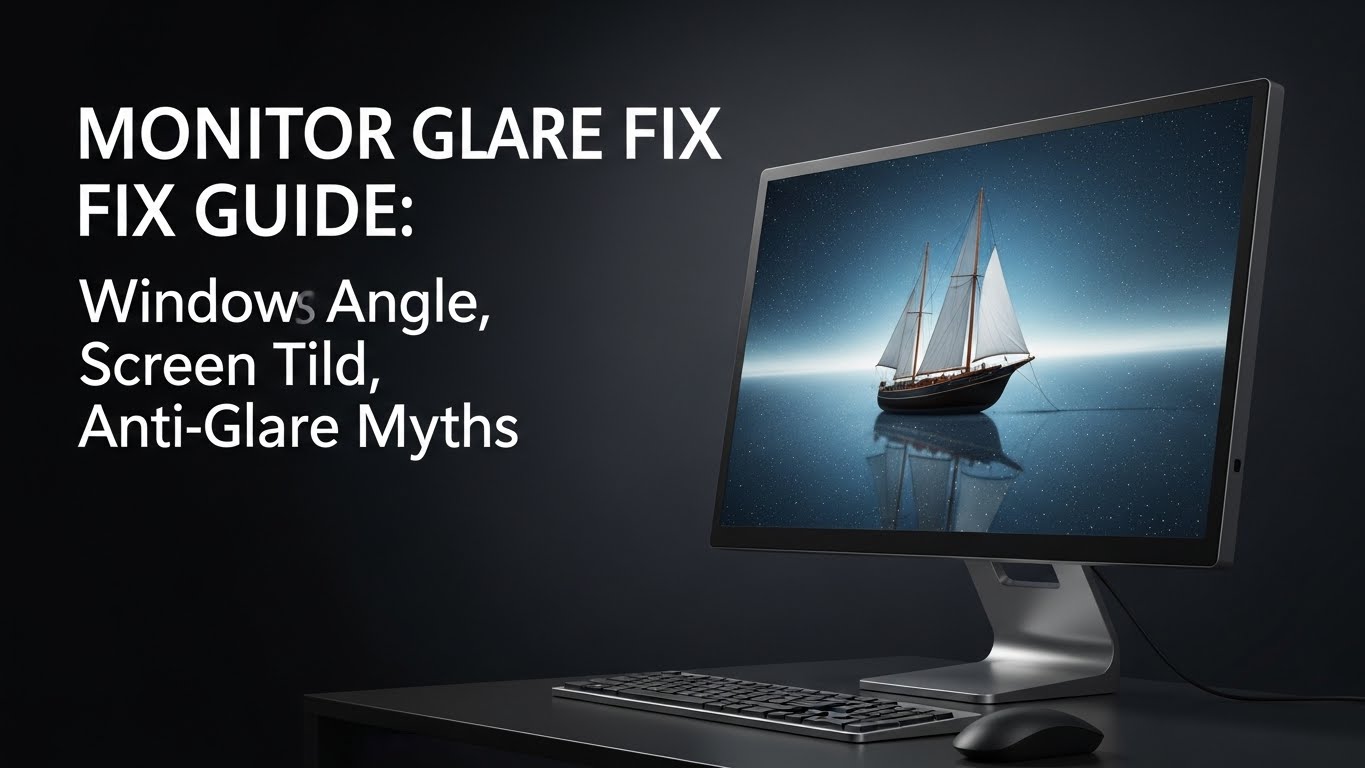
Monitor Glare Fix Guide: Window Angle, Screen Tilt, and Anti-Glare Myths
What’s the fastest way to fix monitor glare without buying anything?
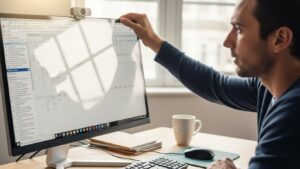
Fix glare in the right order: (1) put the monitor at a 90° angle to the window (window to your side),
(2) micro-tilt the screen slightly downward so reflections bounce toward your lap instead of your eyes,
then (3) soften the window brightness (sheer curtain/blinds) to stabilize contrast.
Most “glare problems” aren’t screen problems — they’re angle + contrast problems.
- Biggest win: stop putting the window in front of you or behind you
- Micro-tilt beats settings: a few degrees of tilt can remove reflections that brightness can’t
- Don’t chase “one perfect spot”: aim for a stable glare-free zone across normal head movement
- Anti-glare myth: “matte fixes everything” — it can reduce mirror reflections, but contrast imbalance can still feel harsh
- Headaches, burning eyes, or dry-eye feeling that ramps up day after day
- Leaning forward or tilting your chin to “see under” a reflection
- Blur when switching focus from screen to the room
- Light sensitivity that feels worse after screen time
This guide is informational and not medical advice. If symptoms persist, worsen, or you notice sudden vision changes,
consider professional eye care guidance.
Last Updated: 2026-01-14 |
Expert Review: WorkNest Ergonomic Lab (Visual Ergonomics) |
Author: WorkNest Team
- Sit “real”: sit how you look after 2–4 hours (your normal fatigue posture, not a perfect pose).
- Window to the side: aim for the window at your 3 o’clock or 9 o’clock, not in front/behind.
- Micro-tilt down: start vertical, then tilt down slightly until reflections stop “following” head movement.
- Fix contrast: soften the window (sheer curtain/blinds angled up) before you nuke brightness.
- Verify stability: move your head 10–15cm in normal work range. If glare pops back, adjust angle again.
If monitor glare is driving you nuts, you’re not imagining it. Glare isn’t just “annoying light” — it’s a constant visual fight.
Your eyes keep adapting, your shoulders creep up, and your neck starts doing tiny avoidance moves all day.
The good news: most glare problems can be solved without buying anything once you treat it like a geometry + contrast issue.
One more thing: glossy displays (including many high-end panels) can look incredible… and still punish you in the wrong room.
A “better monitor” won’t fix a window blasting directly into your setup. But a small rotation and a small tilt often feels like switching from glass to paper.
Table of Contents
- 1) Reflection glare vs veiling glare: two problems, two fixes
- 2) The 90-degree window rule: why it works so often
- 3) Micro-tilt dynamics: the small move most people skip
- 4) The “Black Mirror” test: find the hidden glare source fast
- 5) Anti-glare myths: matte, film, curved screens, dark mode
- 6) Fast fixes by scenario: window behind / in front / side
- 7) Comparison table: bad vs good signals you’ll feel
- FAQ
- Internal Links
- Sources & References
- Professional Disclaimer
1) Reflection glare vs veiling glare: two problems, two fixes
People say “glare” like it’s one thing. It’s usually one of these:
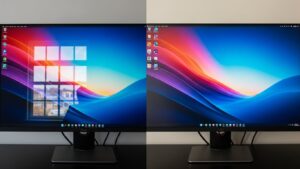
- Reflection glare (mirror glare): you can literally see a window, lamp, or bright shape on the screen.
- Veiling glare (washed-out glare): the screen looks gray and low-contrast even without a sharp reflection.
Reflection glare is mostly an angle problem. Veiling glare is mostly a contrast problem.
If you treat both with “turn brightness down,” you often end up squinting harder, leaning forward more, and feeling tired anyway.
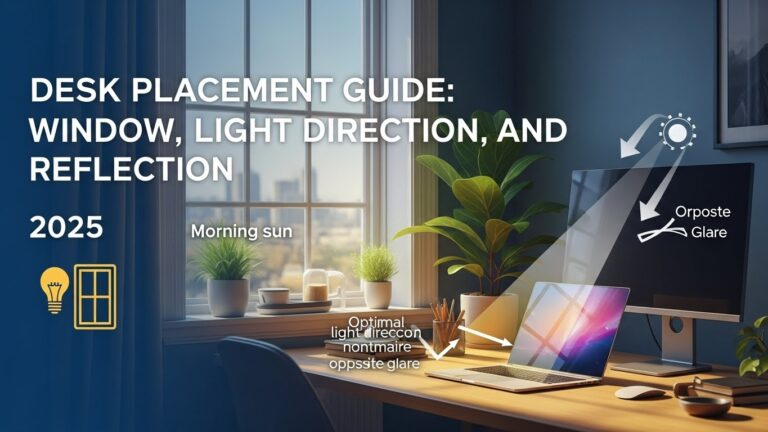
2) The 90-degree window rule: why it works so often
If you only do one thing, do this: place your monitor so it’s perpendicular to the window (window to your side).
This reduces the chance of a bright rectangle reflecting directly into your eyes, and it makes contrast much easier to control.
If your eyes feel like they “re-calibrate” every time you look back, your contrast is too extreme.
Side-window placement usually calms that down immediately.
If the window is behind you, your monitor becomes a mirror.
If the window is in front of you, your eyes fight a bright background while trying to read a smaller, dimmer display.
Side placement doesn’t make the room dark — it makes the room less aggressive.
3) Micro-tilt dynamics: the small move most people skip
Here’s the truth that feels too simple: a tiny tilt can remove glare that no setting can fix.
Brightness changes how bright the screen is. It does not change where reflections go.
- Start neutral: screen vertical (not reclined back like a laptop).
- Then micro-tilt down: until reflections stop appearing during normal head movement.
- Protect your “work zone”: you want stable clarity while you lean in, sit back, and shift posture.
Do the movement test first, then secure the setup.
4) The “Black Mirror” test: find the hidden glare source fast
Sometimes glare feels “random.” It’s not random — it’s just coming from a light source you’re not noticing.
Use this quick diagnostic:
Wherever you can see a bright lamp, window, or hotspot in the reflection is a glare source.
Fix in this order: (1) rotate desk/monitor → (2) micro-tilt down → (3) soften the light source.
If you want a simple “extra” check, use your phone: open a dark screen and hold it near the monitor.
It can help you notice small hotspots (like a ceiling downlight) that you’re ignoring when the screen is on.
5) Anti-glare myths: matte, film, curved screens, dark mode
Anti-glare products can help, but they don’t replace basic room geometry. Here’s what typically surprises people:
- Myth: “Matte removes glare.” Matte can reduce mirror-like reflections, but if your room is extremely bright, you can still get washed-out contrast.
- Myth: “A screen film always helps.” Some films reduce reflections, but others add haze and reduce sharpness. Fix the room first.
- Myth: “Curved monitors reduce glare.” Curves can actually “collect” light from a wider arc, turning one light into a longer streak.
- Myth: “Dark mode fixes glare.” Dark backgrounds can make reflections more visible (your screen behaves like a black mirror). In bright rooms, light mode can feel easier.
Don’t start with products. Start by moving the window to your side and stabilizing contrast.
6) Fast fixes by scenario: window behind / in front / side
Pick the scenario that matches your room. Don’t mix random tips — glare fixes work best as a short sequence.
Scenario A: Window behind you (most reflection glare)
- Best fix: rotate desk/monitor so the window moves to your side.
- Then micro-tilt down: until the reflection stops “chasing” your head movement.
- If you can’t move: soften the window (sheer curtain/blinds) and keep the room evenly lit.
Scenario B: Window in front of you (contrast fatigue)
- Move the monitor slightly off-axis (don’t aim it directly at the bright window).
- Soften the window first, then adjust monitor brightness for comfortable reading.
- Add soft ambient light behind/around the monitor if the room is otherwise dark.
Scenario C: Window to the side (best baseline)
- Keep side-lighting, then refine with micro-tilt and screen position.
- Watch for overhead lights reflecting as you lean (use the Black Mirror test).
- If the screen still looks washed out, soften extremes (very bright window + very dark room).
7) Comparison table: bad vs good signals you’ll feel
| Signal | Glare is still winning | Setup is stable |
|---|---|---|
| Head movement | You “hunt” for a glare-free angle | You forget glare exists |
| Eyes | Squinting / burning / dry feeling | Neutral gaze, less end-of-day fatigue |
| Text clarity | Washed-out contrast, “hazy” screen | Consistent clarity across posture shifts |
| Neck/shoulders | Leaning/tilting to escape reflections | More centered posture |
| Quick test | Glare appears as you move | Glare stays gone during normal movement |
FAQ
Q1) Should my monitor face the window?
A) Usually no. Facing a window often creates high contrast and eye adaptation fatigue. Side-window placement (perpendicular) is the safer default.
Q2) Is it okay to put the window behind me?
A) That’s the most common reflection-glare setup. If you can’t change it, soften the window and micro-tilt down, but rotation is typically the real fix.
Q3) Why does glare come back when I move my head?
A) Because reflections are angle-based. You may have “one perfect spot” but not a stable zone. Micro-tilt and rotation should eliminate glare across normal movement.
Q4) Do anti-glare filters actually work?
A) They can reduce reflections, but some add haze and reduce sharpness. Fix window angle and room contrast first, then consider a filter if needed.
Q5) My screen is matte and still feels harsh. Why?
A) Matte reduces mirror-like reflections, but it doesn’t automatically solve veiling glare and contrast imbalance (bright window + darker room). Soften the window and stabilize room lighting.
Q6) Does dark mode help with glare?
A) Sometimes it helps with comfort, but in bright rooms it can make reflections more obvious (black-mirror effect). If glare is your main issue, fix angle/contrast first.
Internal Links
Screen Glare in Small Rooms: 7 Ways to Prevent Reflection and Eye Strain
Desk Placement Guide: Window, Light Direction, and Reflection (2025)
Home Office Lighting Setup: Best Lighting Practices to Reduce Eye Strain
Sources & References
- OSHA — Computer Workstations eTool: Monitor setup considerations
- CDC/NIOSH — Ergonomics and workstation basics
- NIH/NCBI (PMC) — Digital eye strain review (lighting, glare, and workstation factors)
- ISO 9241-303 — Visual display requirements (overview)
Professional Disclaimer
If you have persistent headaches, visual discomfort, worsening dry-eye symptoms, or pain that does not improve with setup changes, consider consulting a qualified professional.
Update Log:
– 2026-01-14: Merged the strongest parts of two drafts into one sequence-first guide (angle → micro-tilt → window diffusion), added a clearer reflection vs veiling split, strengthened the Black Mirror diagnostic, and tightened myths (matte/film/curved/dark mode) with simpler, more actionable wording.

I’m not a medical professional, ergonomist, or workplace specialist.WorkNest exists to help everyday people build more comfortable, practical home office environments through clear explanations, visual guides, and common-sense adjustments.
Articles on this site are written from a non-expert perspective, focusing on real-world use, everyday discomforts, and widely accepted setup principles rather than clinical or professional advice.