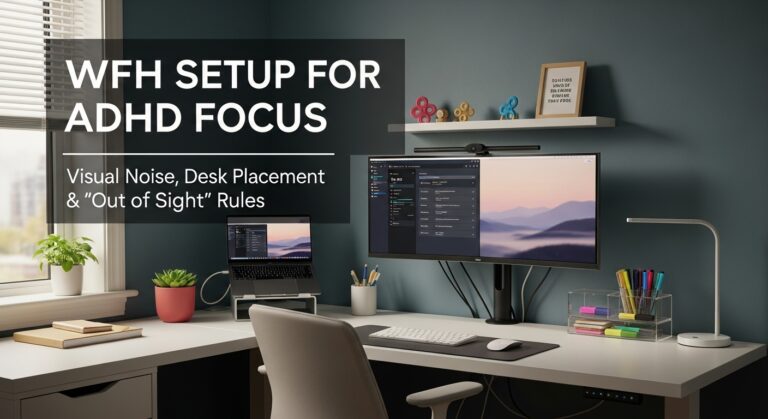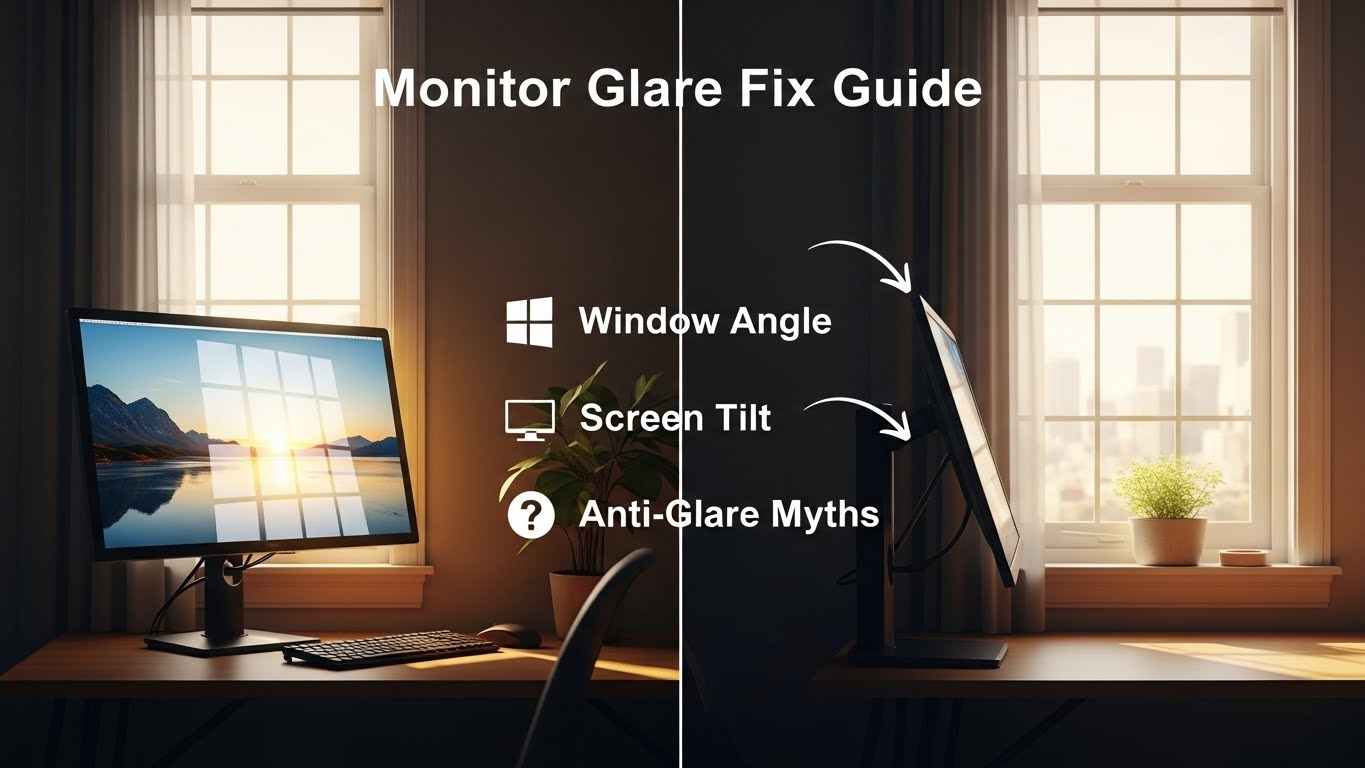
Monitor Glare Fix Guide Window Angle, Screen Tilt, and Anti-Glare Myths
Fastest glare fix: solve reflection geometry first, then stabilize contrast (no purchase needed)
Monitor glare is rarely a “screen problem.” It’s usually a geometry + contrast problem:
(1) where the bright source sits (window/lamp/ceiling), (2) the monitor’s angle relative to that source,
and (3) how extreme the brightness difference is between your screen and your background.
The reliable reset is: window to the side (90° rule) → small downward tilt → background brightness balance.
- Primary stability goal: glare stays “gone” even when you shift posture (not just one perfect angle)
- Reflection rule: move the light source relationship (desk/monitor angle) before buying filters
- Contrast rule: fix the wall/window brightness behind the monitor so your eyes stop “fighting” the room
- 60-second proof: type + read small text for 60 seconds without squinting or neck-tilting
- Headaches, burning eyes, or a “dry eye” feeling after screen work
- Neck tilt / leaning forward to escape reflections
- You keep lowering brightness but the screen still feels harsh
- Blur when switching focus from monitor to the room
If symptoms are persistent, worsening, or include significant pain/blur, consider an eye-care professional. This guide is informational only.
Last Updated: 2026-01-11 |
Expert Review: WorkNest Ergonomic Lab |
Author: WorkNest Team
Executive Protocol (5-minute deployment): “Offender → Angle → Contrast → Proof”
- Find the offender: identify the brightest source creating the patch (window, lamp, ceiling panel).
- Fix geometry: aim for a side-window setup (90° rule) or rotate the monitor so reflections miss your eye line.
- Fix contrast: reduce extreme background brightness (diffuse window / soften wall behind monitor).
- Lock posture stability: adjust tilt/height so glare doesn’t return when you sit taller/lean back.
- Validate: 60 seconds of reading + typing with zero “screen hunting.”
Monitor glare feels like a small nuisance until you notice what it does to your body.
You start doing tiny head turns, leaning, squinting, nudging brightness… and your neck pays the bill.
The annoying truth: most “anti-glare” purchases fail because they don’t fix the two real drivers — reflection geometry and brightness contrast.
Table of Contents
- 1) Identify your glare type (reflection vs veiling glare)
- 2) Geometry rules: the 90-degree window placement that works
- 3) Tilt + height protocol: make the fix stable across posture changes
- 4) Contrast protocol: lighting fixes that don’t dim your life
- 5) If you can’t move the desk: compensation checklist (by scenario)
- 6) Anti-glare myths (what wastes time vs what actually works)
- 7) Signal matrix: drifting vs stable setup during real work
- FAQ
- Internal Links
- Sources & References
- Professional Disclaimer
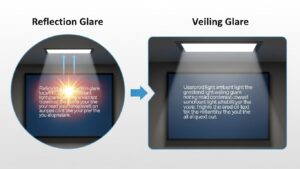
1) Identify your glare type (reflection vs veiling glare)
People call everything “glare,” but you’ll fix it faster if you label it correctly.
Most setups have one dominant problem:
(A) reflection glare (you see a window/lamp shape on the screen),
or (B) veiling glare (text looks washed out because the room/background is too bright).
- If a bright patch moves when you tilt the screen or shift your head → reflection glare (geometry problem).
- If text looks gray even without obvious reflections → veiling glare (contrast problem).
- If you keep changing brightness all day → you likely have both, but one is driving the other.
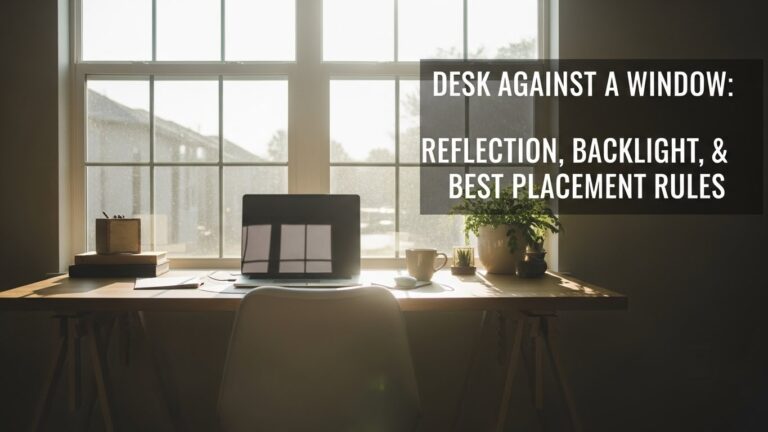
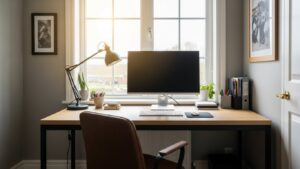
2) Geometry rules: the 90-degree window placement that works
The most reliable rule in real rooms is simple:
place the window to your side (desk perpendicular to the window).
Facing a window often creates harsh contrast. Having a window behind you often turns the screen into a mirror.
Side light gives daylight without forcing your monitor into a reflector.
Sit normally and move your head slightly left-right. If the bright patch behaves like a “moving sticker,” your light source relationship is wrong.
Your first lever is not brightness — it’s angle and placement.
3) Tilt + height protocol: make the fix stable across posture changes
A common failure is creating a “perfect” angle for one posture — then glare returns the moment you sit taller or lean back.
Your goal is stability across normal movement.
- Start with tilt: use a slight downward tilt so overhead reflections move out of your viewing zone.
- Then height sanity: if you keep lifting your chin to avoid glare, the screen is often too high or the background is too bright.
- Then distance: sitting too close makes small reflections feel huge. Increase distance slightly if you can.
- Change one variable at a time: rotate/placement → tilt → lighting. If you jump around, you won’t know what fixed it.
If glare reappears in any move, your setup is not stable yet. Adjust geometry/tilt first — not just brightness.
4) Contrast protocol: lighting fixes that don’t dim your life
Many “glare” complaints are actually contrast complaints.
If the area behind the monitor is extremely bright (window) or extremely dark (dim corner),
your eyes keep adapting — that adaptation becomes fatigue.
- Diffuse daylight: sheer curtain or blinds reduce hotspots without turning the room into a cave.
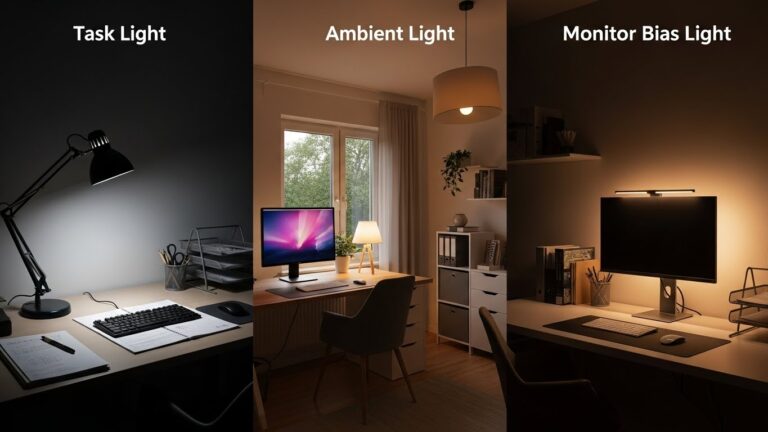
- Move task lights off-axis: lamps behind you often reflect on the screen; side placement is usually calmer.
- Use bias light behind the monitor: soft wall light behind the display reduces screen-to-wall contrast during long sessions.
- Don’t chase “minimum brightness”: a too-dim screen can increase squinting and effort. Balance the room first.
5) If you can’t move the desk: compensation checklist (by scenario)
Some rooms are fixed — real life wins.
If desk placement can’t change, your job is to diffuse the source and break the reflection line.
Use the checklist that matches your scenario instead of random tweaks.
- Desk faces a window: diffuse the window (sheer/blinds) + reduce background contrast + keep a stable tilt.
- Window behind you: block direct sunlight hitting the screen (blinds) + rotate monitor slightly off-axis so reflections miss your eyes.
- Overhead lights cause glare: move monitor a few cm + tilt down + avoid bright lamps behind your head line.
- Dark corner setup: add soft ambient light so the screen isn’t the only bright object in the room.
The reflection may soften, but the eyes still fight brightness imbalance — fatigue stays.
6) Anti-glare myths (what wastes time vs what actually works)
- Myth: “Matte screen = glare solved.”
Works when: reflections are small and mild.
Fails when: the window relationship is wrong or contrast is extreme. - Myth: “Just lower brightness to minimum.”
Better move: reduce background brightness extremes first, then set a comfortable screen level. - Myth: “A hood solves everything.”
Reality: hoods can help in some lighting, but geometry still decides what your eyes see. - Myth: “Glare is normal, ignore it.”
Reality: glare changes posture. Posture changes become pain patterns.
7) Signal matrix: drifting vs stable setup during real work
| Signal | Setup is drifting | Setup is stable |
|---|---|---|
| Head/neck | you tilt/lean to find a clear view | you sit naturally without “screen hunting” |
| Eyes | burning/dryness, afternoon fatigue | neutral gaze, less squinting |
| Screen clarity | washed-out text or moving bright patches | stable contrast across small posture shifts |
| Work flow | you keep adjusting settings all day | you forget the setup and just work |
FAQ
Q1) Should my desk face a window if I like natural light?
A) Usually no. Facing a window creates harsh contrast and visual fatigue. Side-window placement tends to give daylight with fewer reflections.
Q2) Why does glare come back when I change posture?
A) Because the setup is optimized for one angle, not for normal movement. Use the “Posture Proof” test and adjust geometry/tilt so glare stays out of the viewing zone.
Q3) Do anti-glare filters work?
A) They can reduce sharp reflections, but they don’t fix bad window angle or extreme contrast. Treat them as fine-tuning, not the core solution.
Q4) Is bias lighting always a good idea?
A) If it’s soft and aimed at the wall behind the monitor, it often reduces contrast fatigue. If it’s bright or visible directly, it can become a new glare source.
Q5) When should I stop tweaking and get help?
A) If headaches, eye pain, persistent blur, or worsening symptoms continue despite stable glare fixes, consider an eye-care professional or ergonomics evaluation.
Internal Links
Screen Glare in Small Rooms: Practical Fixes for Reflection and Eye Strain
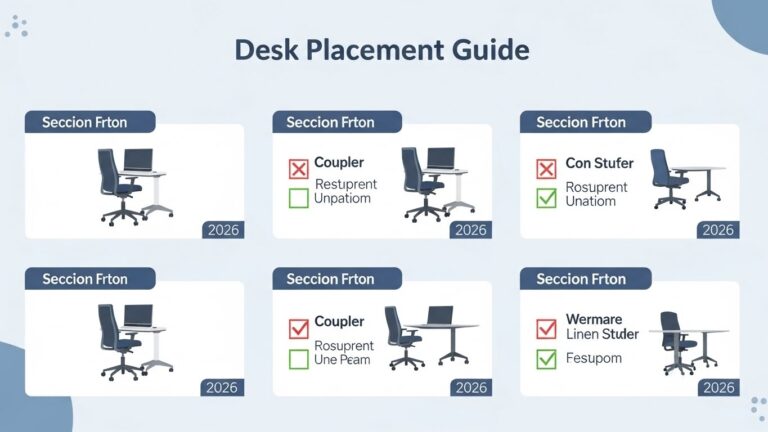
Desk Placement Guide: Window Light, Direction, and Reflection Control
Home Office Lighting Setup: Best Practices to Reduce Eye Strain
Sources & References
- OSHA — Computer Workstations eTool (workstation setup principles)
- NIOSH (CDC) — Computer Workstation Checklist (PDF)
- NIH (PMC) — Digital Eye Strain: Review
Professional Disclaimer
If you experience persistent headaches, eye pain, blurred vision, or worsening symptoms, consult a qualified eye-care provider or ergonomics professional.
::contentReference[oaicite:0]{index=0}

I’m not a medical professional, ergonomist, or workplace specialist.WorkNest exists to help everyday people build more comfortable, practical home office environments through clear explanations, visual guides, and common-sense adjustments.
Articles on this site are written from a non-expert perspective, focusing on real-world use, everyday discomforts, and widely accepted setup principles rather than clinical or professional advice.